Non-destructive testing is carried out on the piping components to ensure the soundness of the body & weld. NDT will check whether any physical subsurface defects such as crack, porosity or lack of fusion are present, this defects may affect the performance of components during the service. Most common methods of NDT that used are Flux leakage examination or magnetic flaw detection , Eddy current, Ultrasonic testing, Radiography (Only for Weld), Magnetic particle test of pipe ends & weld seam, And Positive Material Identification.
Ultrasonic testing can be done on full body or only for weld seam, whereas radiography is performed on weld seam only. Magnetic particle test is performed on pipe ends & weld seam. Hardness check is also performed on metal to confirm the standard requirements. UT is the mainly testing.
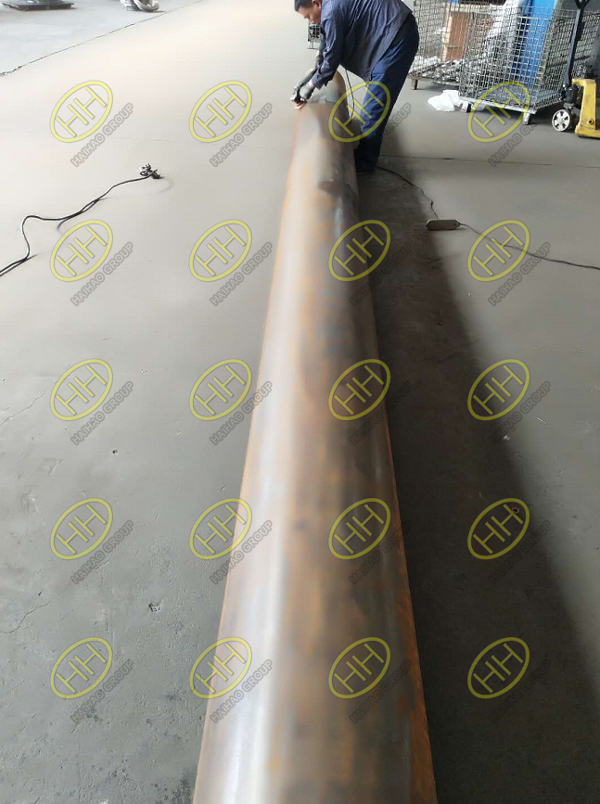
Ultrasonic testing of steel pipe
Visual inspection is one of the most effective inspection method used to check overall product quality. During the visual inspection,we will check for overall product finish. You will check for surface imperfections such as mechanical marks, lamination, tears or any other visual imperfections and also check weld defects such as porosity, undercuts, uneven weld bead, and excess or under fill of weld material. Acceptance of these imperfections are as per applicable standard.
Dimension inspection of the pipe is carried out based on the dimension standard, final dimension of the pipe must confirm the standard or it should be as specified in purchaser’s specification.
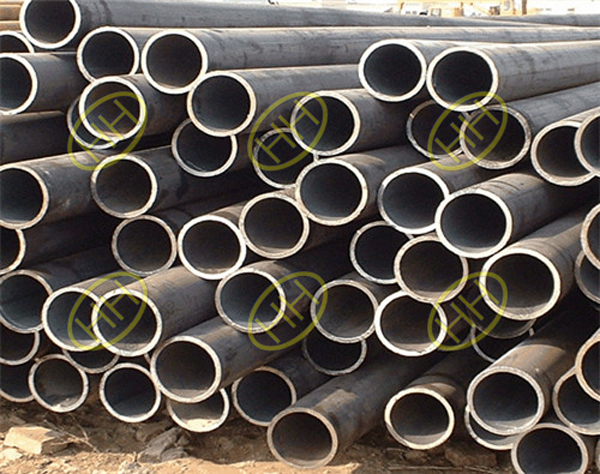
Austenitic stainless steel pipes
For welded and seamless wrought steel pipe dimensional requirements are cover in ASME B36.10.
For stainless steel pipe dimensional requirements are cover in ASME B36.19.
During dimensional inspection diameter, length, thickness, straightness, ovality & weight are checked. Permissible Variations depends on manufacturing standard. You can visit my website hardhatengineer.com to know about acceptable tolerances in pipe dimension.
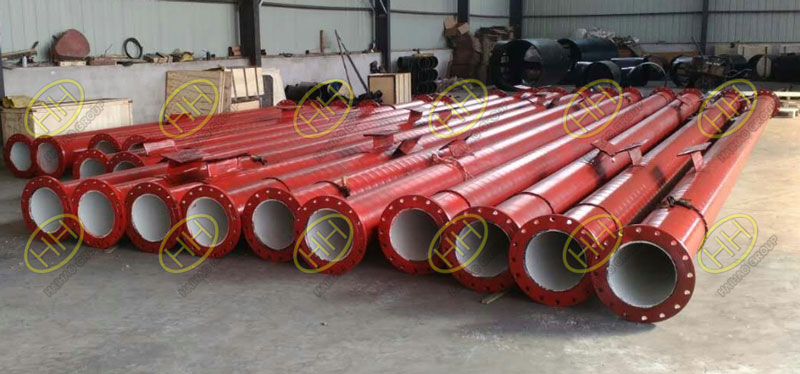
Pipe Spools Flanged Fittings
Once the pipe is cleared all test and inspection, it is marked as per the standard requirements. Pipe shall be marked with Manufacturer logo, ASTM material code, Material Grade, Size, Thickness- schedule no., Length, Heat No and Special marking WR for weld repair or NH for non-hydro tested pipe.
These marking can be done by paint or by hard punching. For stainless steel pipe, stenciling is also used.
Please note that for carbon steel no hard punching below 6 mm thickness and for stainless steel no hard punching below 12 mm thickness.
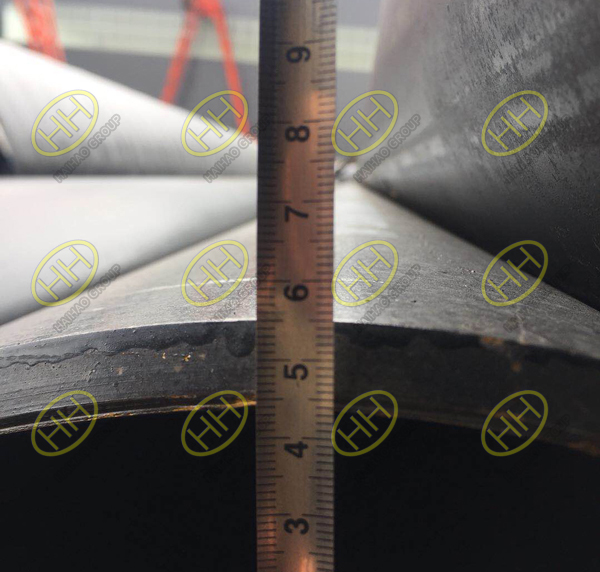
Inspection of steel pipe

