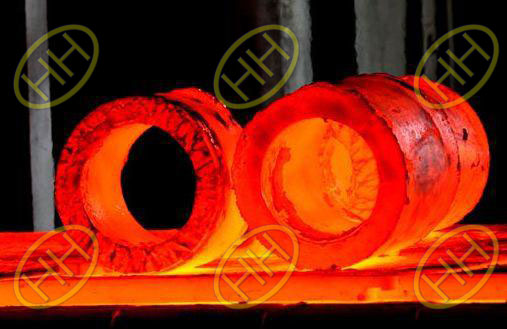
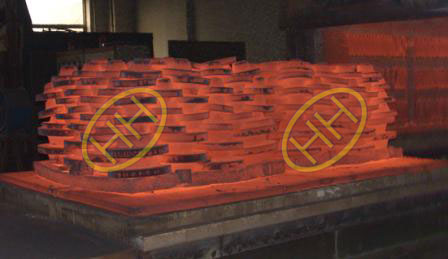
Surface quenching and tempering heat treatment is usually carried out by induction heating or flame heating.The main technical parameters are surface hardness,local hardness and effective hardened layer depth.The hardness test may be performed by a Vickers hardness tester or a Rockwell or surface Rockwell hardness tester.The choice of test force (scale) is related to the effective hardened layer depth and the surface hardness of the workpiece. There are three hardness testers involved here:

Heat Treatment For A420 WPL6 Fitting Material
1,The Vickers hardness tester is an important means to test the surface hardness of heat-treated workpieces. It can be tested with a test force of 0.5-100 kg to test a surface hardened layer as thin as 0.05 mm thick. Its precision is correct, and the surface hardness of the heat-treated workpiece can be distinguished. The slight difference. In addition, the effective hardened layer depth is also measured by a Vickers hardness tester. Therefore, it is necessary to equip a unit for surface heat treatment or a large number of surface heat treatment workpieces with a Vickers hardness tester. 2,The surface Rockwell hardness tester is also very suitable for testing the hardness of the surface quenched workpiece. The surface Rockwell hardness tester has three scales to choose from. Various surface hardened workpieces with effective hardening depths in excess of 0.1 mm can be tested. Although the accuracy of the surface Rockwell hardness tester is not as high as the Vickers hardness tester, it has been able to meet the requirements as a means of quality management and inspection of the heat treatment plant. Moreover, it has the characteristics of simple operation, convenient use, low price, rapid measurement, and direct reading of hardness value. The surface Rockwell hardness tester can be used for rapid and non-destructive part-by-piece inspection of batch surface heat treatment workpieces. This is important for metalworking and mechanical manufacturing plants.

Heat treatment of A105N steel flange
3,When the surface heat treatment hardened layer is thick, a Rockwell hardness tester can also be used. When the thickness of the heat-treated hardened layer is 0.4 to 0.8 mm,the HRA scale can be used, and when the thickness of the hardened layer exceeds 0.8 mm,the HRC scale can be used.Vickers,Rockwell and Surface Rockwell hardness values can be easily converted to each other and converted to standard, drawing or user-required hardness values. The corresponding conversion table is given in the international standard ISO and the American standard ASTM.
Haihao Group supply butt welding pipe fittings,forged pipe fittings,steel pipes and flanges products more than 30 years,our piping products according to standard ANSI/ASME,BS,EN,DIN,API,JIS,ISO,KS,GOST,etc.If you want to know more about our products,please email us:sales@haihaogroup.com


