At Haihao Group, we are committed to providing high-quality piping solutions that meet the rigorous demands of our global clients. Recently, we completed the production of ASME B16.9 90° long radius elbows, material grade A420-WPL6, for a valued client in Indonesia. To ensure these fittings meet stringent quality standards, we conducted a comprehensive inspection process, including dimensional checks, ultrasonic thickness measurement, and chemical composition analysis. This article outlines our quality control measures and explains the principles behind ultrasonic and chemical analysis testing.
Dimensional Inspection
Dimensional accuracy is critical for pipe fittings to ensure proper fit and function within piping systems. We performed detailed measurements on each elbow to verify key dimensions, such as the radius, angle, and wall thickness, ensuring compliance with ASME B16.9 standards. Specialized tools and gauges were used to measure and confirm the precision of each component.

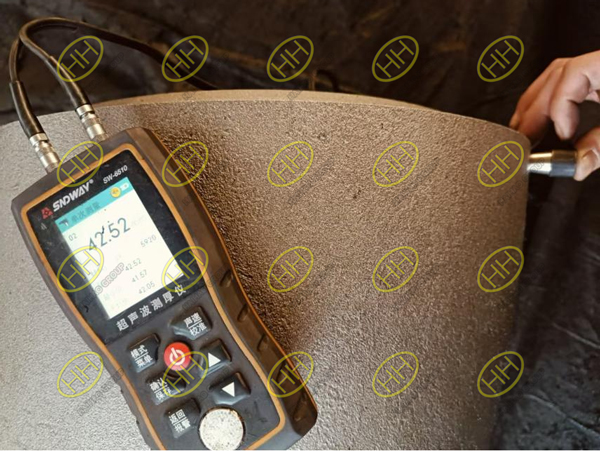
Ultrasonic Thickness Measurement
Ultrasonic Thickness Measurement
Ultrasonic thickness testing is a non-destructive method used to measure the thickness of a material without causing any damage. This technique is particularly useful for checking the uniformity and consistency of the wall thickness of pipe fittings.
Principle of Ultrasonic Thickness Measurement
The ultrasonic thickness measurement works based on the principle of sound wave propagation. Here’s how it functions:
A probe (transducer) emits high-frequency sound waves into the material. These sound waves travel through the material and reflect back from the opposite surface.
The transducer detects the reflected waves, and the device measures the time it takes for the waves to travel to the back wall and return.
By calculating the travel time and knowing the speed of sound in the material, the device can determine the thickness of the material.
This method provides precise and reliable results, allowing us to detect any inconsistencies or variations in the wall thickness of the elbow. For our A420-WPL6 elbows, ultrasonic testing ensures the fittings meet the required thickness specifications for safe operation under low-temperature and high-pressure conditions.

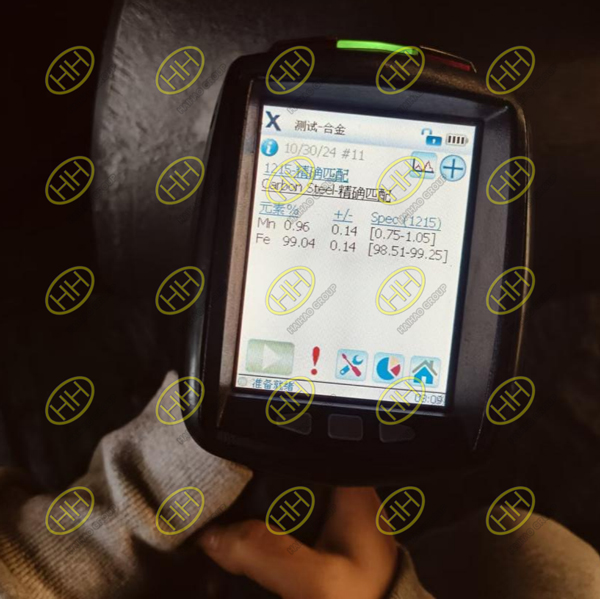
Chemical Composition Analysis
Chemical Composition Analysis
To verify the material grade and ensure the chemical composition meets the ASTM A420 standard, we used a handheld chemical composition analyzer. This portable device provides accurate and rapid analysis of metal alloys, making it ideal for quality assurance purposes.
Principle of Chemical Composition Analysis
The handheld analyzer operates based on X-ray fluorescence (XRF) or optical emission spectrometry (OES). Here’s how these principles work:
In XRF, the device emits X-rays onto the material’s surface. When the X-rays interact with the atoms in the material, they cause the atoms to emit secondary (fluorescent) X-rays. The analyzer detects these X-rays and identifies the elements present, along with their concentrations.
In OES, a spark is generated on the metal surface, exciting the atoms. As the atoms return to their ground state, they emit light at specific wavelengths, which the device analyzes to determine the chemical composition.
Both methods provide reliable data on the material’s elemental makeup, ensuring that the carbon, manganese, silicon, phosphorus, sulfur, and other alloying elements are within the specified limits for A420-WPL6. This verification step is crucial for maintaining the low-temperature performance and mechanical properties of the material.
Our meticulous quality inspection process at Haihao Group reflects our commitment to delivering high-performance and reliable products. By performing dimensional checks, ultrasonic thickness measurement, and chemical composition analysis, we ensure our ASME B16.9 90° LR elbows meet the exacting standards required for demanding applications. This comprehensive approach to quality control guarantees that our products provide safe and efficient service in low-temperature and high-pressure environments, fulfilling the needs of our international clients.


