1.Basic requirements for the appearance of LSAW welds
Before the non-destructive testing of LSAW steel pipes, the inspection of the weld appearance shall meet the requirements. The general requirements for the appearance of LSAW welds and the surface quality of welded joints are as follows: the appearance of the weld should be well formed, and the width should be 2 mm per side over the edge of the groove. The height of the fillet of the fillet weld shall comply with the design regulations and the shape shall be smooth transition. The surface of the welded joint should be:
(1) Cracks, unfused, pores, slag inclusions, and splashes are not allowed.
(2) Pipes, stainless steels and alloy steel pipe weld surfaces with a design temperature lower than -29 degrees shall not have undercuts. Other material pipe weld seam undercut depth should be greater than 0.5mm, continuous undercut length should be no more than 100mm, and the total length of the undercut on both sides of the weld is not more than 10% of the total length of the weld.
(3) The surface of the weld shall not be lower than the surface of the pipe. The weld bead height is not more than 3mm (the maximum width of the welded joint group to the rear bevel).
(4) The wrong side of the welded joint shall not exceed 10% of the wall thickness and shall not exceed 2 mm.

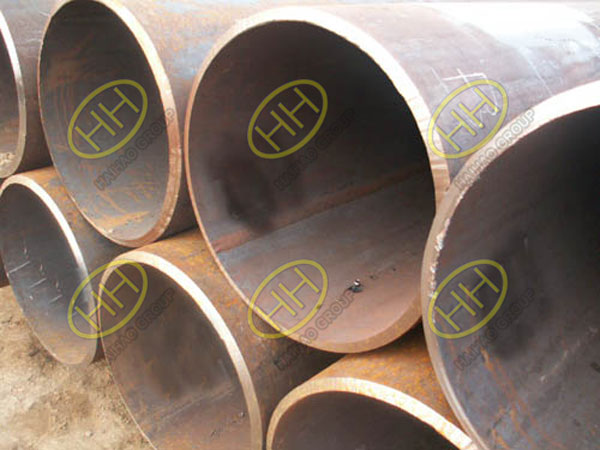
Longitudinal seam Submerged Arc Welded (LSAW) pipes
2.Surface non-destructive testing
The principle of non-destructive testing method for the surface of LSAW steel pipe: magnetic powder testing should be used for ferromagnetic material steel pipe; penetration testing should be used for non-ferromagnetic material steel pipe. For welded joints with a tendency to delay cracking, the surface non-destructive inspection shall be carried out after the welding has been cooled for a certain period of time; for welded joints with a tendency to reheat cracking, the surface non-destructive inspection shall be carried out once after welding and after heat treatment. The application of surface non-destructive testing is carried out according to the standard requirements. The detection objects and applications are generally as follows:
(1) Quality inspection of the outer surface of the pipe material.
(2) Detection of surface defects of important butt welds.
(3) Inspection of surface defects of important fillet welds.
(4) Surface defect detection of welded joints of important socket welding and jumper tee branch pipes.
(5) Surface defect detection after pipe bending.
(6) The material is quenched and the groove is detected by the welded joint.
(7) Detection of non-austenitic stainless steel pipe bevels whose design temperature is lower than or equal to minus 29 degrees Celsius.
(8) Double-sided weldment stipulates the inspection of the roots after the roots are cleaned.
(9) When the welding fixture on the alloy pipe having the hardening tendency is cut by the oxyacetylene flame, the defect of the grinding portion is detected.
3.Radiation detection and ultrasonic testing
The main objects of radiation detection and ultrasonic testing are the butt joints of straight seam steel pipes and the butt joints of butt welded pipe fittings. Non-destructive testing methods are selected according to the design documents. For the detection of welded joints of titanium, aluminum and aluminum alloys, copper and copper alloys, nickel and nickel alloys, the radiation detection method should be used. For welds with a tendency to delay cracking, the ray inspection and ultrasonic testing shall be performed after the welding has cooled for a certain period of time. When the main pipe in the casing has a girth weld, the weld shall be operated with 100% ray inspection, and the concealed operation may be carried out after the test pressure is passed. The welded joints on the pipeline covered by the reinforcing ring or the support pad shall be 100% ray-tested and shall be covered after passing the test. For welds specified for intermediate inspection of welding, non-destructive testing shall be carried out after visual inspection. Radiographic and ultrasonic testing shall be carried out after non-destructive testing of the surface.
If you want to know more detail ,please contact us.Email:sales@haihaogroup.com


